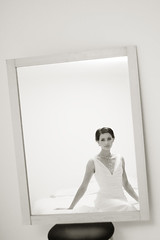
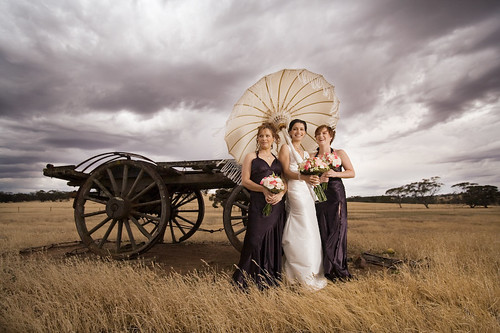
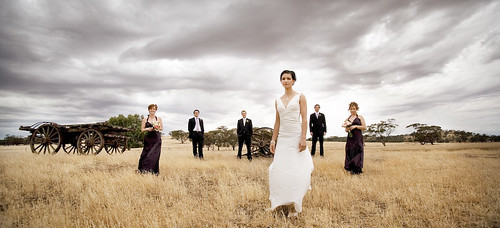
A few useful retouching tips for portraits. I learnt these techniques while processing the images from Dave and Pip's
wedding. Click the link to see some examples of how the techniques below can be applied.
Quite a few of the tips are from Jay Davis at FM... Thanks.
Smoothing skin on portraits."Go to menu item:Select/ Color Range/ Sampled Colors. set the "add to sample" option and with a low fuzziness setting (around 25) begin selecting the model's skin area. Play around with sampling and different fuzziness settings until you have the skin almost all selected and none of the dark areas around the skin. Choose OK and now you will have a pretty throrough selection of the skin tones.
Copy this to its own layer (ctrl-C; ctrl-V) - (or just ctrl-J)
Apply Gaussian Blur to this layer only. You have to choose the amount to use. Adjust it up until skin detail just disappears and then a bit more. At this point the picture will look hideous.
Monochromatic noise can be added by selecting your skin layer, go up to filters and choose noise, there is a check box for monochromatic, set a low number (should look a little like faint pores) and then apply/ok. If it is too much then you can go under Edit (if I remember right) and choose Fade to fade the last filtered effect.
Now ... add a layer mask while pressing the Alt key ... this will add a Black layer mask and everything will then return to "normal"
Here's the part when you retouch the skin: Using a soft-edged paintbrush and white paint selected, choose an opacity of 20% or less and a brush size that's workable, start painting white on the layer mask just in the areas of the skin gradually reducing it's opacity until the skin is the way you like it."
Skin Glow Technique...1. New layer
2. Set blend mode to screen.
3. Gaussian Blur - about 15px.
4. Reduce opacity to abou 22%
5. Paint mask as needed.
Applying a vignette.1. Make a selection with the lasso tool - an elipse around the main subject.
2. Invert selection.
3. Feather selection ctrl+alt+D - quite large feather. Up to 250px for large images.
4. New hue/saturation adjustment layer. Selection should load as a mask.
5. Reduce lightness to taste.
Sepia overlayA nice effect. Works quite well to warm up skin tones.
1. New hue/saturation adjustment layer.
2. Set Hue 25, Saturation 25. Make sure colorize box is ticked.
3. Reduce layer opacity to about 30-40% or whatever suits the image.
------------------------------------------------------------------------------------
More
Post Processing blogposts from the archives.